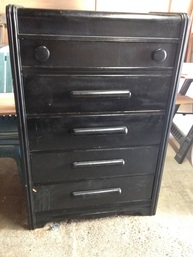
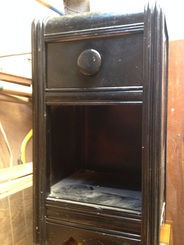
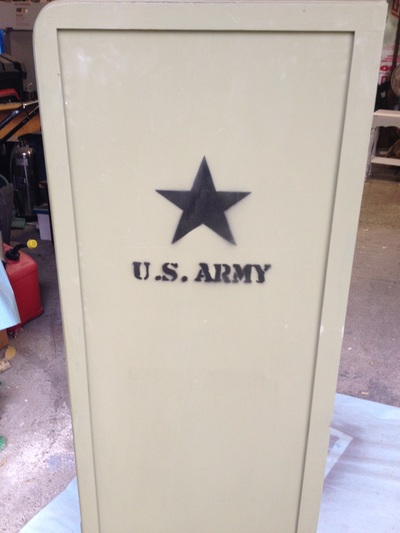
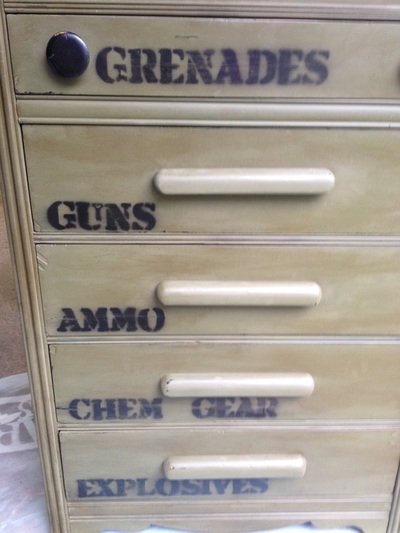
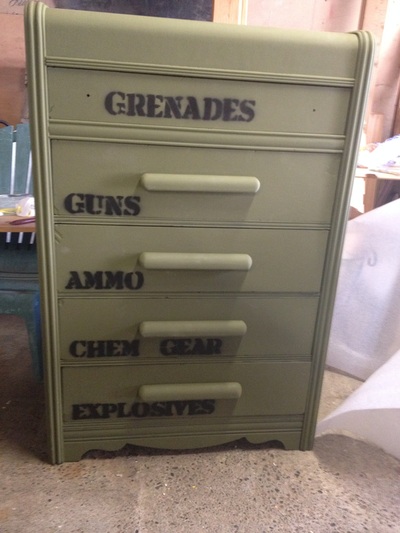
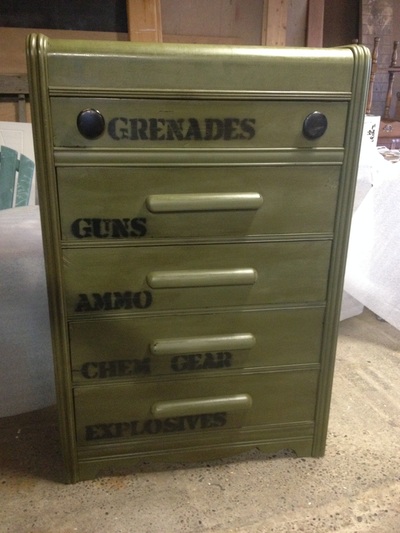
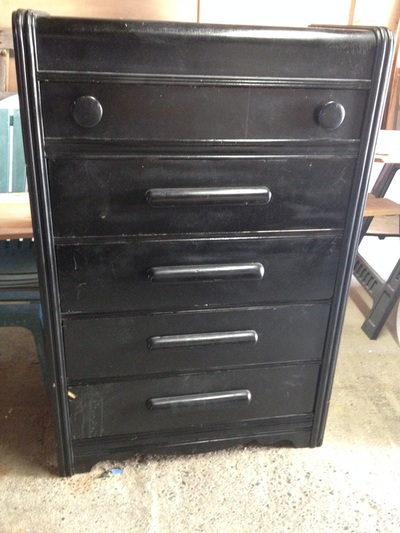
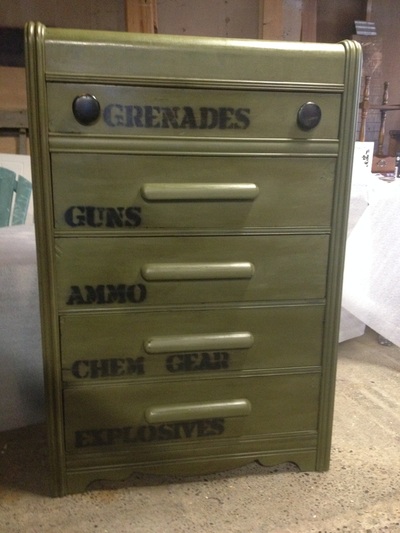
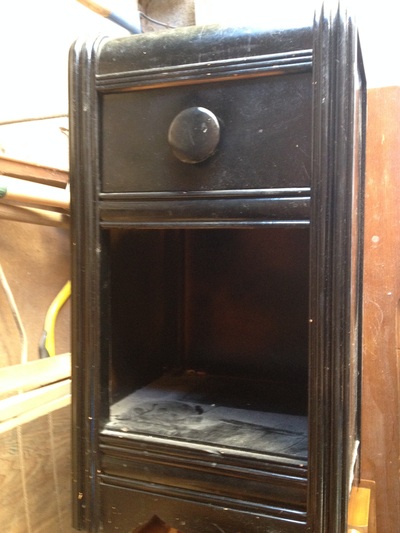
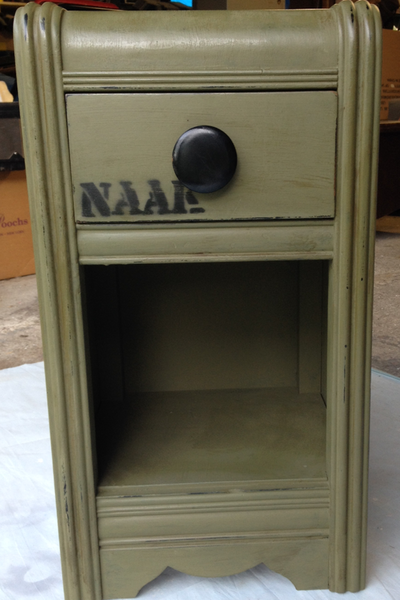
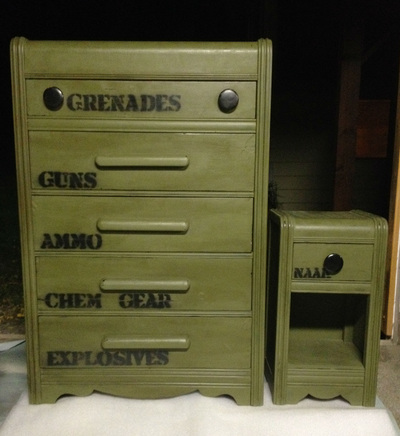
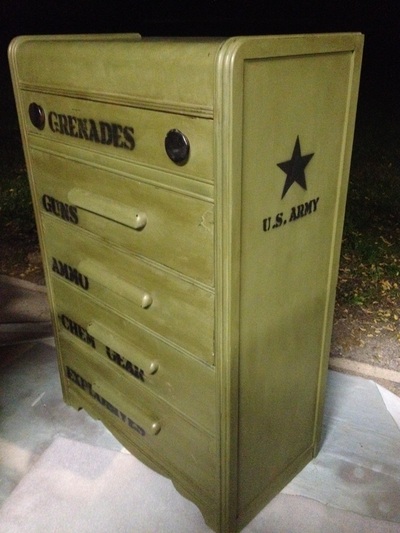
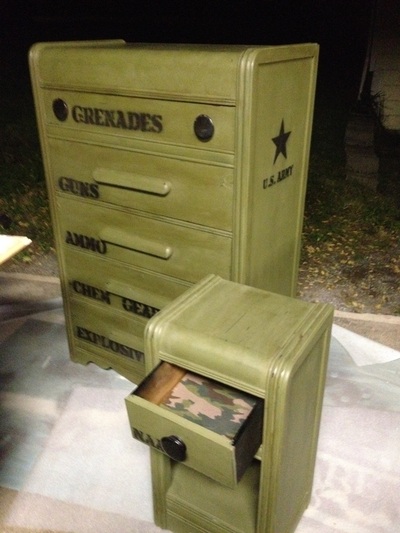
My Son is in the Army Reserves. While he was away at basic training (and then his AIT training) I decided to spruce up his room with some new furniture. A friend of mine was moving out of her house and gave me this antique waterfall dresser, and the matching side table, for free.
I chose Annie Sloan's Chalk Paint in Olive. It's a very Army green Olive color so it was perfect for this project. With Chalk paint there's no prep work except to clear the dust off before you start painting. I've written more about my experience with Chalk Paint on my Annie Sloan Chalk Paint Page.
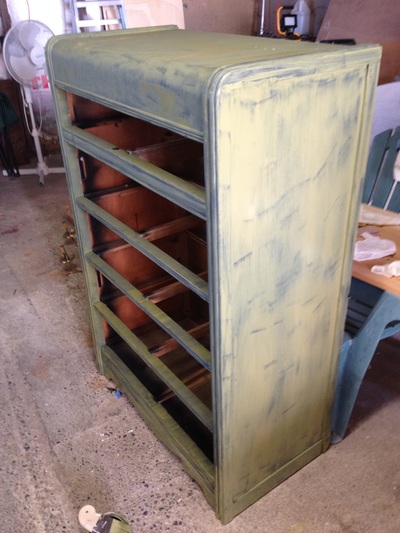
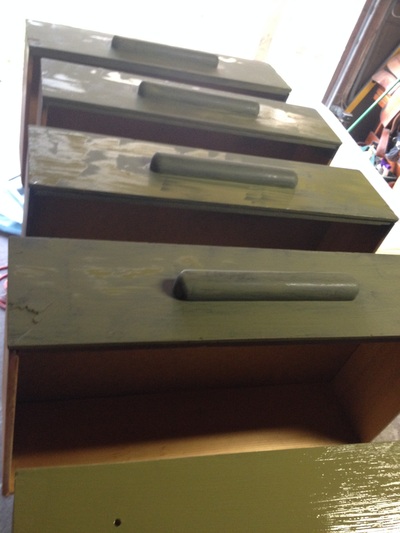
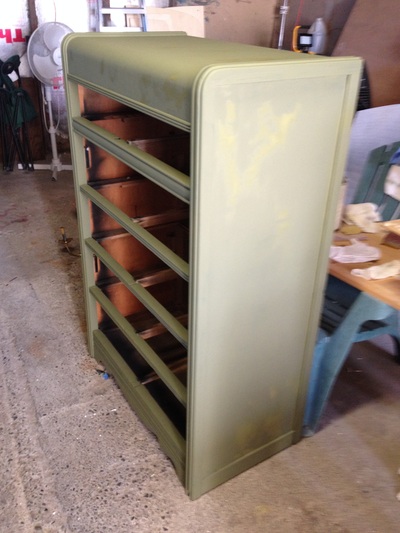
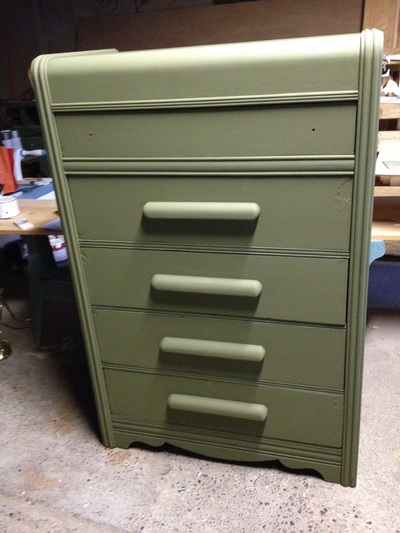
Below is a gallery of the painting process which really only took a couple of hours. Annie Sloan Paint dries quickly in the summer so a project is quick to finish.
You can see in the first couple of photos that one coat wasn't going to cover that black paint. Two coats was all it needed. Once it was dry it looked good. I sanded it smooth with 400 grit after the last coat. That left a few areas looking distressed - which I was fine with. The last two photos It was painted but not yet sanded.
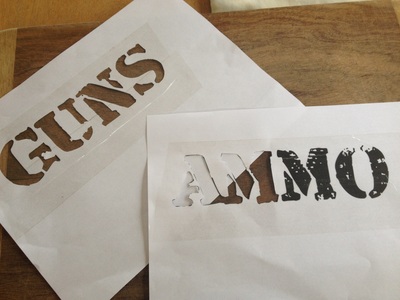
Then I needed a way to apply Army type Stencils. I downloaded an Army font from www.1001freefonts.com - an awesome website with an easy search feature and thousands of fonts. I've never had any trouble with the fonts I've gotten from them.
** I figured out the size of words I needed, by measuring on the dresser where I was going to put them.
** I printed them out on my inkjet printer, using Microsoft Word. I just typed the word I wanted, changed the font size (if you can't get the font big enough then just type a bigger number - like 100 - into the font size box at the top of the Word screen). It took me a few changes before I got the right size I wanted.
** I took packing tape and taped over the printed words so they'd have a stronger substance to cut than just flimsy paper. Plus some of the words didn't all fit on one piece of paper, even though I printed them with landscape. So this step allowed me to have the entire word in one piece, and I could make sure the words were lined up correctly.
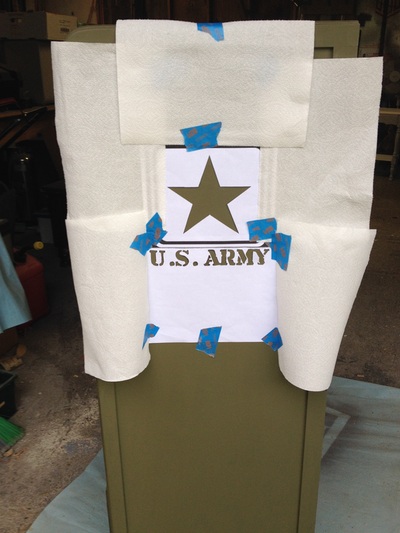
** On my cutting board I used an Xacto knife to cut out the black letters and make a template. The Packing tape helped to make my paper templates more like a real plastic template.
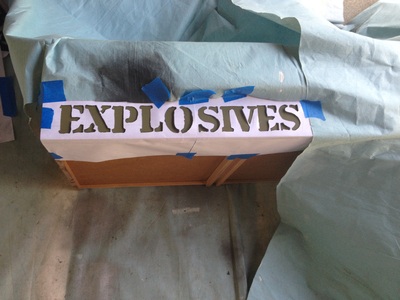
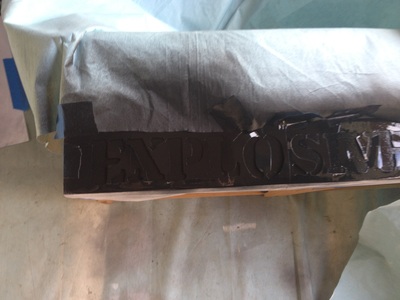
** I taped my templates onto the painted drawer faces. I used blue painter tape (they have a special gentle kind for freshly painted surfaces), and covered up the rest of the drawer to avoid overspray getting where I didn't want it.
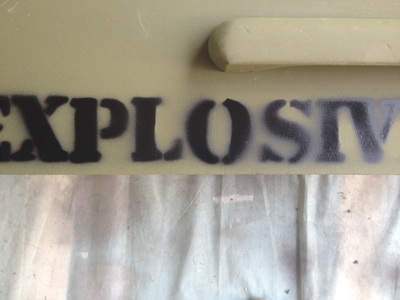
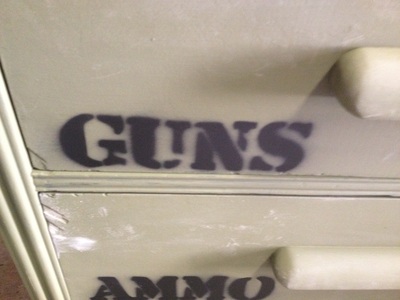
** Then I spray painted the templates - and removed them quickly. This came out with the authentic spray painted look I wanted.
You can see the beat up damage the dresser has, but I thought that added to the authentic Army look. :)
I let the spray paint dry for 24 hours before I waxed the whole thing. I used Annie Sloan's Clear wax, then a coat of Annie Sloan's dark wax. Below is the before / after picture of the wax.
For my take on the Annie Sloan Wax products check out my Annie Sloan Paint and Wax Page.
I let the spray paint dry for 24 hours before I waxed the whole thing. I used Annie Sloan's Clear wax, then a coat of Annie Sloan's dark wax. Below is the before / after picture of the wax.
For my take on the Annie Sloan Wax products check out my Annie Sloan Paint and Wax Page.
Huge difference with the wax added! Especially the dark wax. It brought out the character I was looking for in these pieces.
I also lined the inside of the drawers with camouflage art paper I found at Hobby Lobby. I used mod podge to glue them in place.
The last thing that was needed was a bit of glue and repair on two of the drawers. My husband took care of that for me - because I'm still learning that aspect of furniture.
So here's the before / afters of both pieces. I was really happy with the way these turned out. By the way --- NAAK stands for Nerve Agent Antidote Kit.
