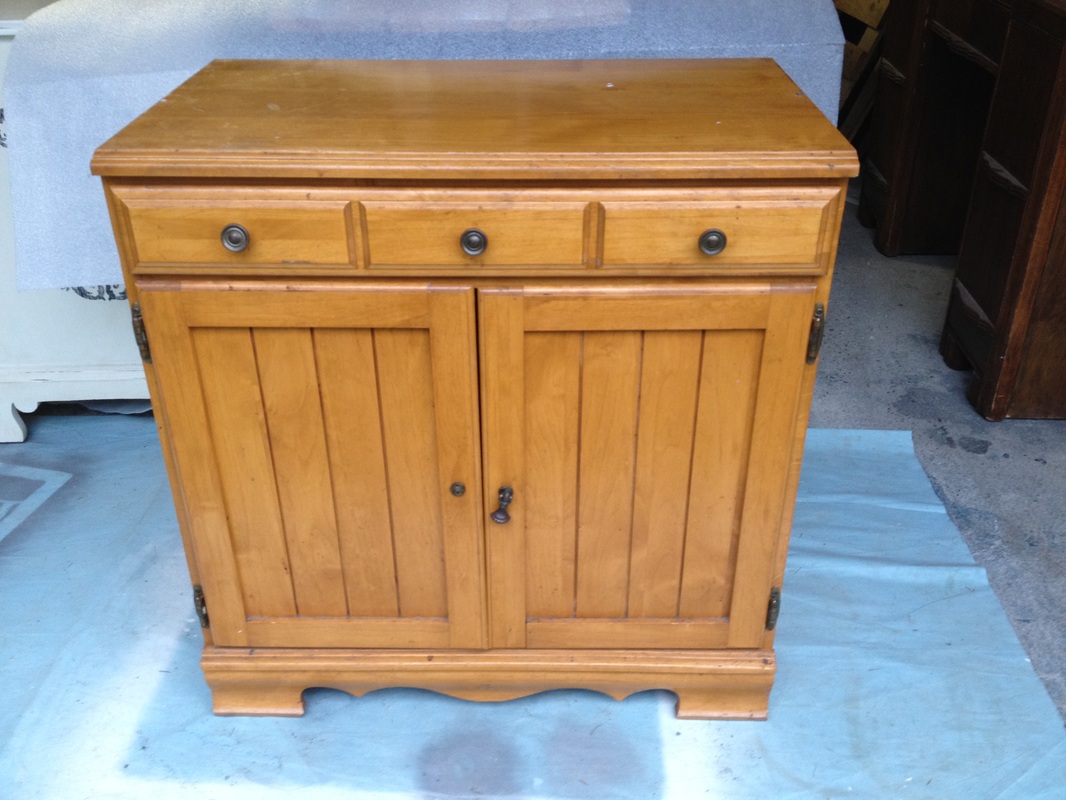
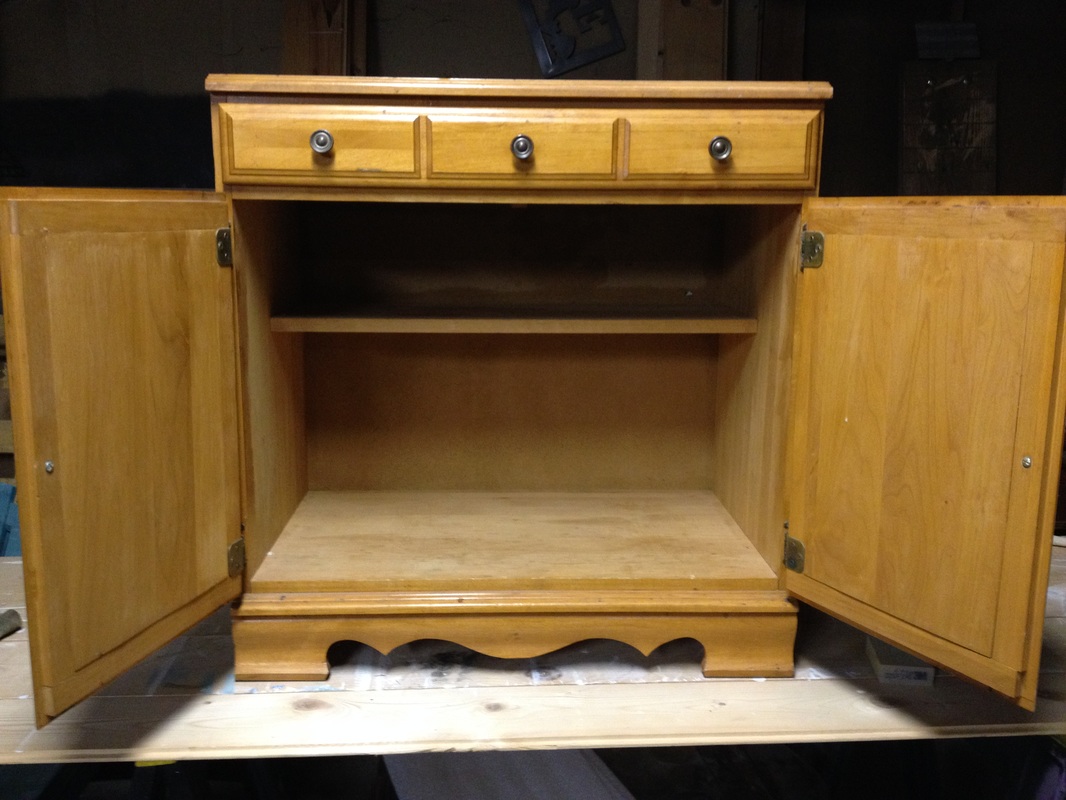
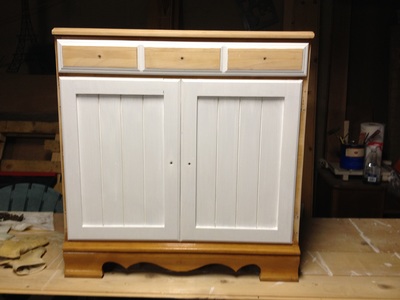
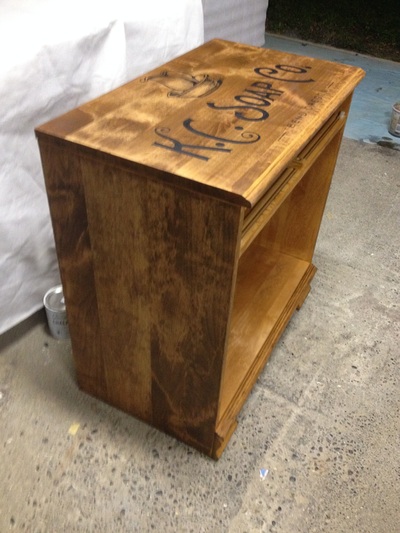
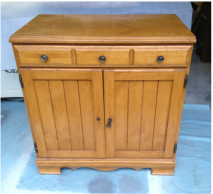
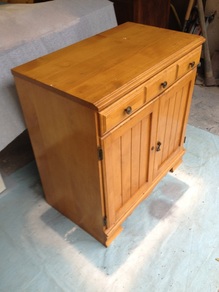
This little pine wood cabinet was a $20 find at a thrift store. I was looking for something that I could use as a media cabinet to hide the router, the phone base, the printer, the charger for the ipad... and all the cords that go with those.
It was the perfect size for the corner I had in mind, and it was solid wood, so it was exactly what I was looking for.
It was the perfect size for the corner I had in mind, and it was solid wood, so it was exactly what I was looking for.
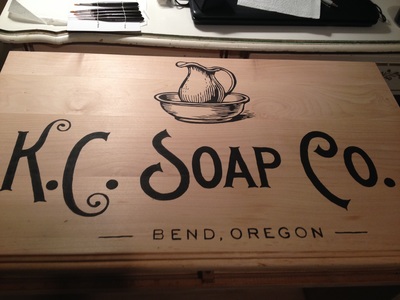
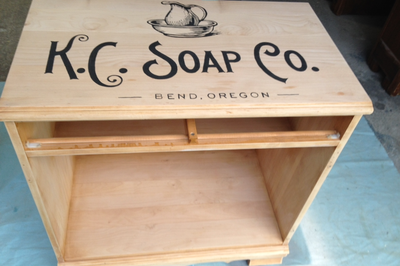
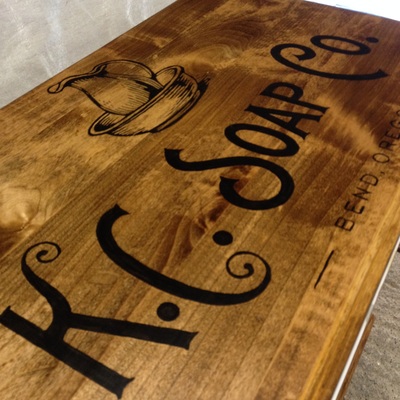
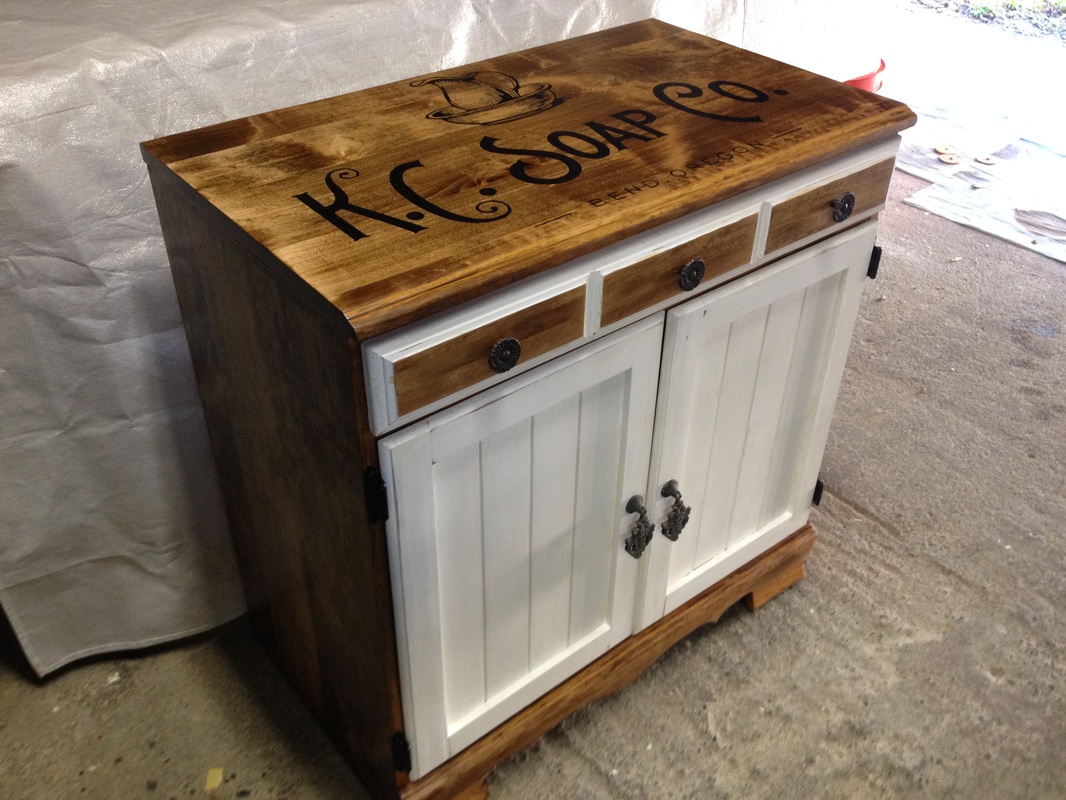
It reminded me of a dry sink so I decided to put a logo on the top that (sort of) went with that idea.
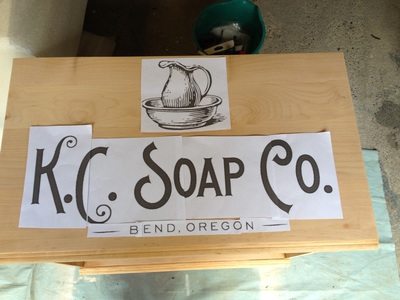
I scoured the internet and fell in love with this company's logo. Again, since it's for my own use and not for sale to the public, I wasn't concerned with trademark or legal issues.
I used Block Posters (online) to enlarge the image big enough to cover the entire top of my cabinet. It took several runs before I got the size right.
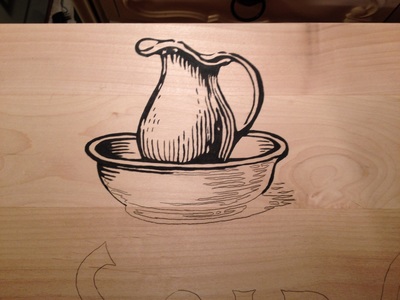
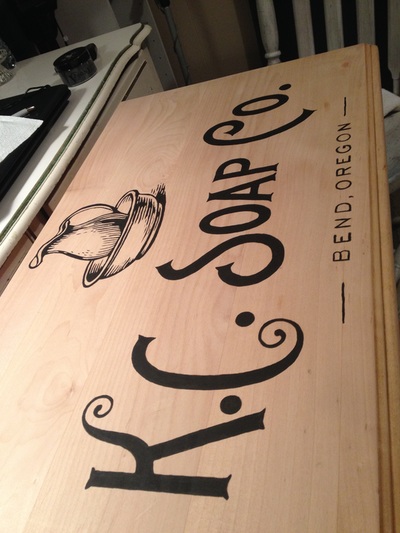
After sanding the top smooth, I transferred the image using graphite paper and painted the image with acrylic paint (found at any hobby store). You can see my Graphite Paper to Transfer Images page for more in-depth info.
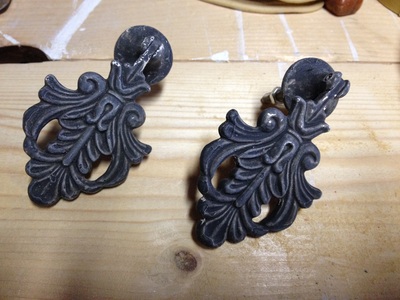
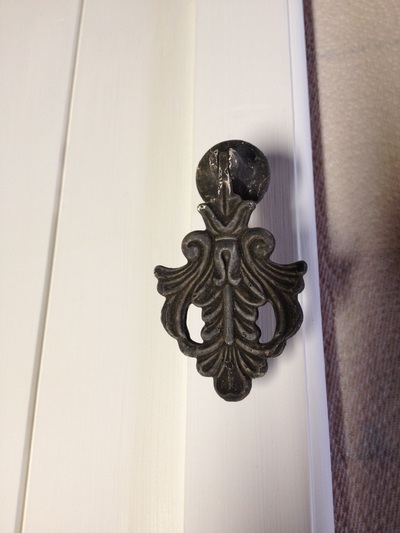
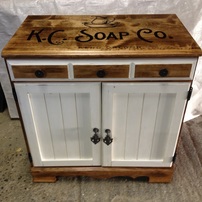
I painted only the doors and the drawers faces (mainly because those areas were difficult to sand, due to the ridges and design). I spray painted the hardware for the drawers, and bought two new handles for the doors. I found those at Hobby Lobby for about $7 each.
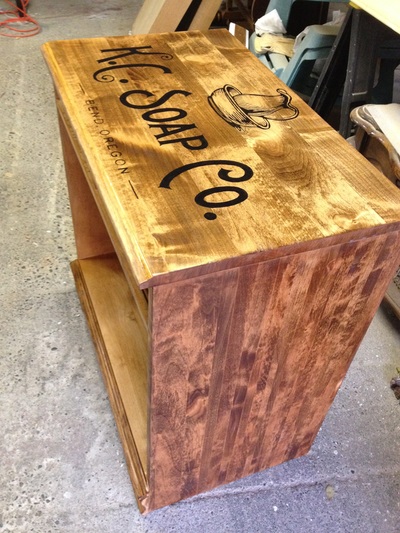
I decided not to paint the inside, instead opting for just a stain to replenish the wood. I wanted the finished look to be older, maybe looking like it was made of pallet wood. So a darker stain would be a good choice. The only drawback to a darker stain is that some of my painted logo might disappear, and that logo on the sanded wood sure looked sharp!
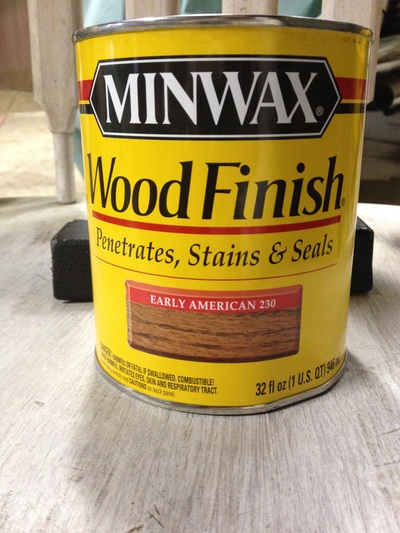
See my Stain and Polyurethane page for more info. The color I chose was called "Early American".
See my Stain and Polyurethane page for more info. The color I chose was called "Early American".
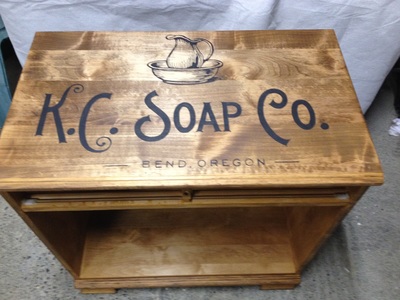
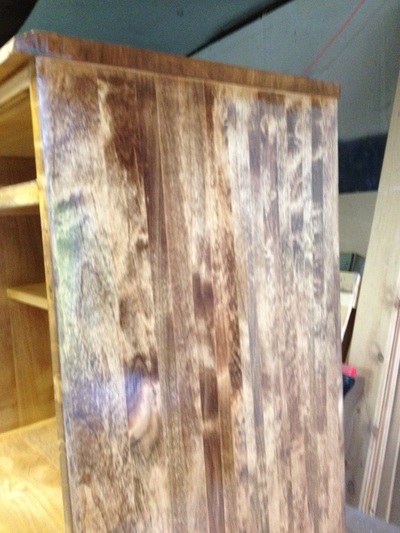
I have to admit, I kinda freaked out when I first put the stain on. It was so dark. And some of my logo did fade into the background, but after I saw how the marbling of the wood had come out, I loved it. The sides turned out really cool too. :)
That's what's nice about working with real wood - the grain has it's own design, it's own personality that makes it unique and beautiful.
My husband drilled four large diameter holes into the back of the cabinet so I could run wires through to hide everything.
This cabinet was my media cabinet for several months before I found a bigger one I liked better. Now, this Soap Company cabinet is my "dog cabinet". It hides the dog food bags, dog leashes, dog toys and doubles as a mini bar and catch all for keys and mail.
