Oh how I love coffee tables! I seriously need a bigger house. Something with a lot of sitting rooms. Spaces for love seats and (another) coffee table. :)
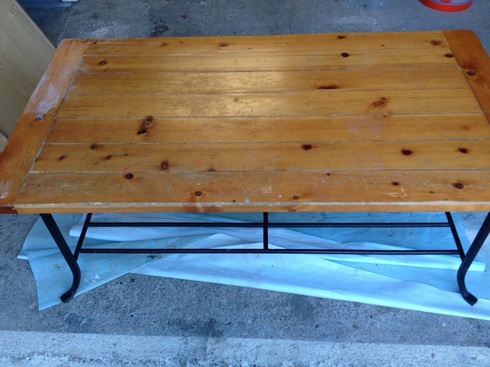
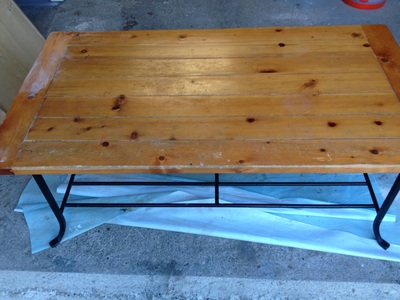
I found this beat up, neglected (well loved?), rickety, pine coffee table at my local thrift store for $20.
It was love at first sight. <3
All those knots - that wrought iron - all that flat surface to paint on... my heart skipped a few beats that day. :)
I found this beat up, neglected (well loved?), rickety, pine coffee table at my local thrift store for $20.
It was love at first sight. <3
All those knots - that wrought iron - all that flat surface to paint on... my heart skipped a few beats that day. :)
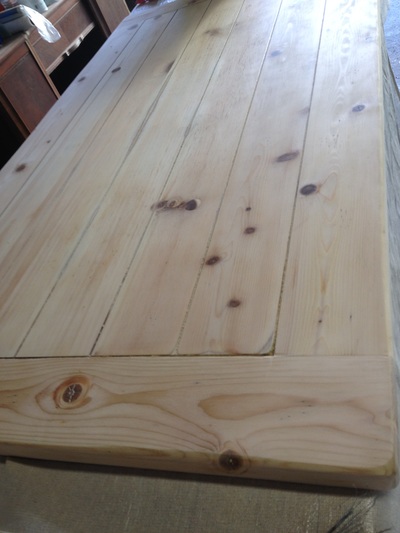
Unfortunately I was still new to sanding. I stupidly thought this was solid pine. I found out the hard way it was pine Veneer. Veneer is wood speak for thin pieces of wood that are glued together to look like one solid piece. It's usually glued onto a cheap piece of wood (like plywood or poplar).
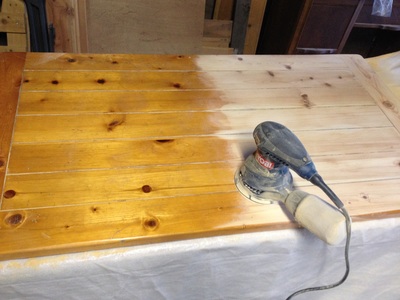
I sanded this piece too hard in the middle and sanded right through the veneer to the cheap wood underneath. This isn't to say that you can't sand veneer - you CAN. You just have to have a light touch (not a conquer mentality like I did) and and you might have to be happy with a less than perfect result. Sometimes there's years of dirt on the veneer, and a light sanding isn't going to clean it all up.
That was my excuse - I was trying to fix the wood by sanding it TO DEATH. Instead of being happy with what the wood was able to give me.
Live and learn.
My husband did not point out my mistake until after I was done painting and staining - I truly didn't see what I'd done. Had I known I may not have finished this piece. But it is what it is. I love the way it turned out! (Despite my glaring mistake.) Which by the way, I'm not pointing out hehe... if you can't tell where I messed up then lucky you! lol
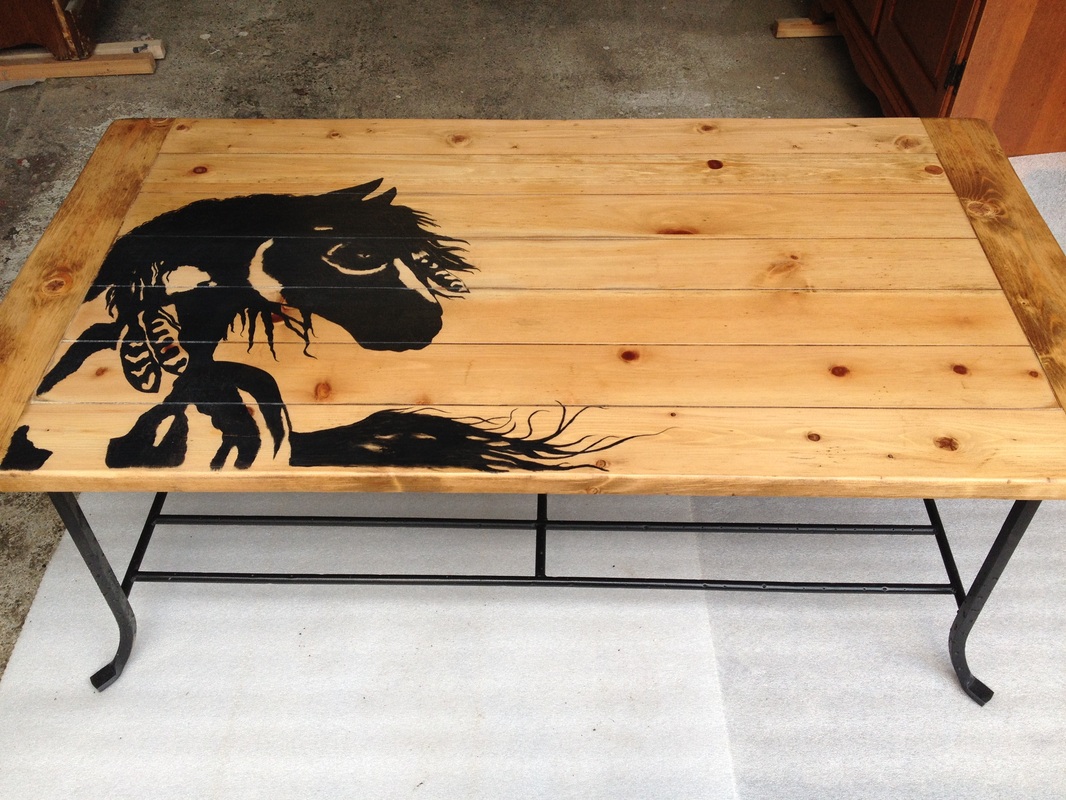
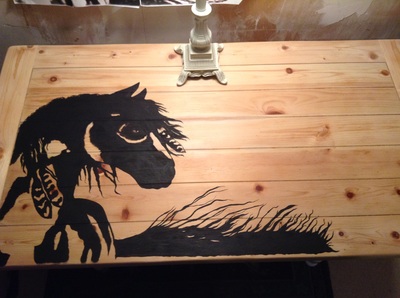
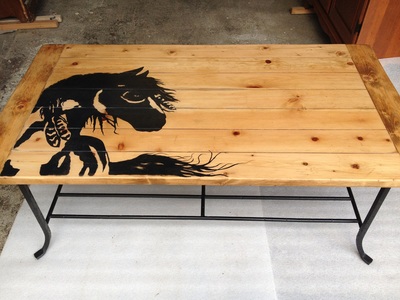
As usual, this is not my drawing. It was a beautiful pic I downloaded from the internet and hand painted on the top of the table, just for me.
**The artist is Amy Lyn Bihrle. She does beautiful horse art. If you're interested in her art for yourself you can check out her Etsy page here. ***
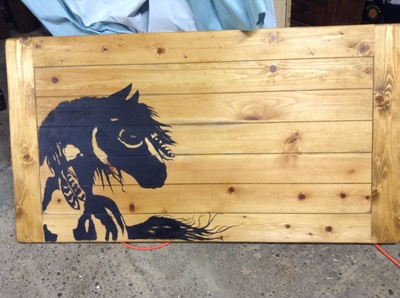
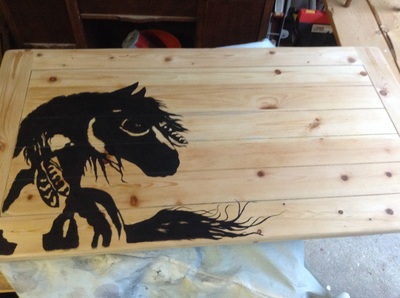
I transferred the image with my graphite paper system (be sure and check out that page if you haven't yet). Then painted it with black acrylic paint, stained it with a light pine stain, and finally protected it with a poly stain. Check out my page on stains for more detailed info.
Here's a few pictures of the process.
I took it all apart first and sanded both sides. It was rickety because of a few loose screws - super easy fix! At first I painted it with a ridiculously long tail - hated it - re-sanded that spot and repainted the tail smaller.
***TIP***
When you take something apart, keep all hardware (screws etc) in a small baggie and tape it to the base or put them in a plastic container with a lid - mark the bag, or put a note inside the container as to what the hardware goes to. That way you don't lose your hardware.
***TIP***
When you take something apart, keep all hardware (screws etc) in a small baggie and tape it to the base or put them in a plastic container with a lid - mark the bag, or put a note inside the container as to what the hardware goes to. That way you don't lose your hardware.
This is my main coffee table in my living room. It's easy to clean, it's tall (my last coffee table was too short for my furniture) it's big & sturdy for feet to relax on, it has a black & white painted pony on it... what's not to love? :)
Ok - one last "before after" side by side.
Ok - one last "before after" side by side.
