I find wood to be gorgeous, and it soothes my soul to have it around me. If I'm surrounded by plastic chairs and unnatural fabrics, then I'm not comfortable. Think of hospital waiting rooms, or a professional office. Are you comfortable there? Now think of a wood themed lodge or wooden porch with wooden chairs. Ahhhh I can feel myself relaxing already. :)
I never worked with stain or oil before this last summer. So the tips I'm going to give you are from a complete newbie perspective.
Don't be scared! Staining is way easier than I imagined - and so rewarding when it's done. The first project is scary to do. I get it. Been there... you might want to try a smaller project or just practice on an unimportant piece of wood. Me - I jumped right in and stained a cabinet dark. Luckily it turned out perfect.
What is stain for?
Stain products for wood are designed to protect and enhance the natural beauty of the wood grain. There's dozens of choices and once you make a decision. it's fairly permanent. (Removing it would require a deep sanding or some very nasty chemicals. So choose carefully.)
Stain is a liquid that is usually changes the color of the wood. It's designed to show off the imperfections of the wood grain - the swirls, the knots, the character of the wood.
Choosing a Stain.
Stains come in oil based and water based. From what I've been told the oil based gives a richer tone to the wood, the water based is more subtle.
Oil based is more durable, water based dries faster.
I've only ever used oil based, so I can't really comment on the water based.
Each type of wood out there is different. Oak / Teak / Pine / Cherry etc. and they will all react differently to the same stain. The only way to know how a particular stain will make your project look is to try it on a sample (sometimes the back part that no one sees will be a good place to try it).
When you go to the hardware store to choose a stain there should be a flier there that gives an approximation of what stains look like on basic wood (like oak, pine, and cedar). And by the time you get that far, you should have an idea of where you want your project to end up.
If you're looking for an antique or weathered look I recommend the darker stains (because old wood will have absorbed years of dirt, sweat, grime, and damp air that darkens it). If you want a fresher look then go light.
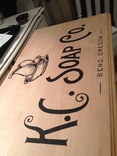
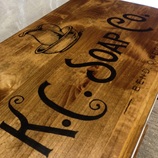
Whether you have done any artwork on your wood (as I like to) will also help you decide if you want a lighter stain or not. That dark stain can make your hard work disappear. It can also enhance it. The pictures below show the before and after I stained a pine cabinet, with a mid-dark colored stain.
I was looking for a weathered - made out of pallet wood - look. I don't know if I achieved that, but I love the way it turned out.
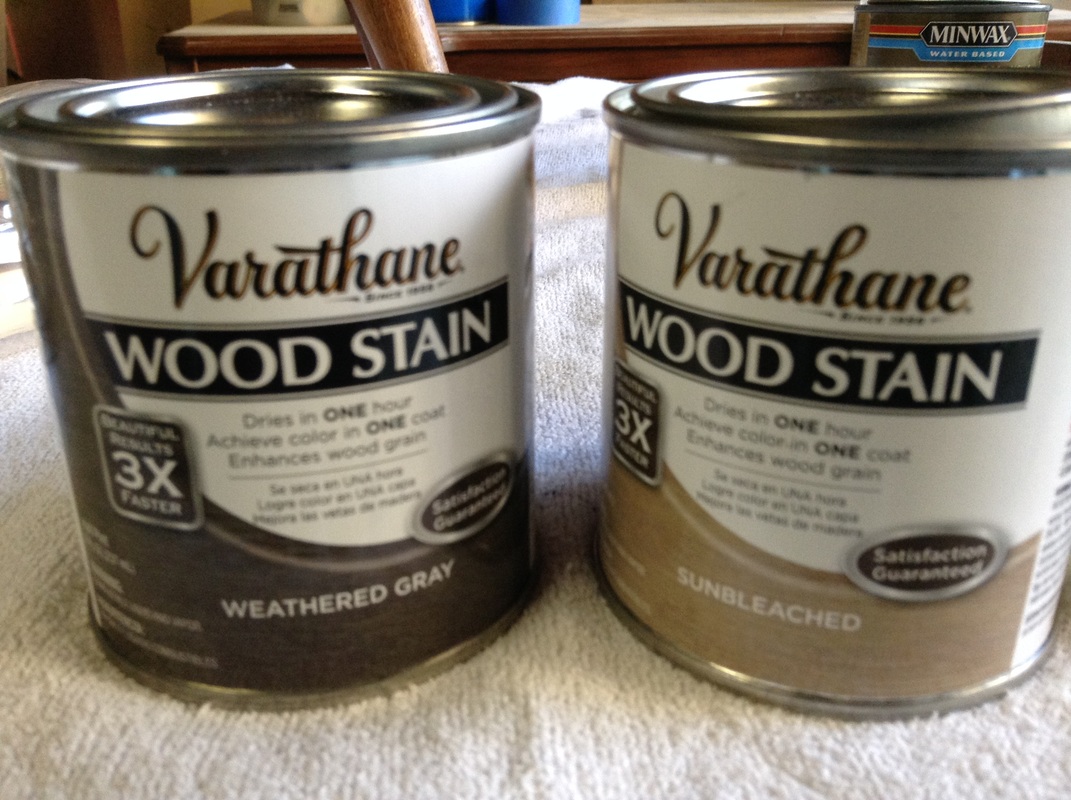
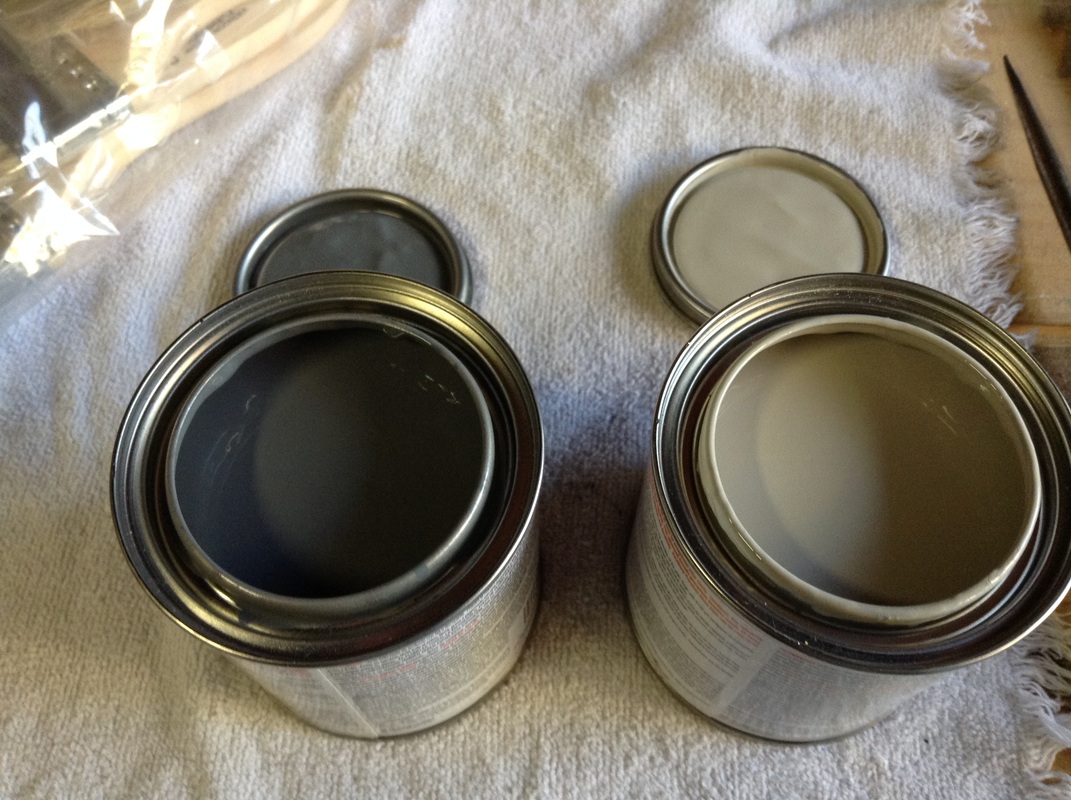
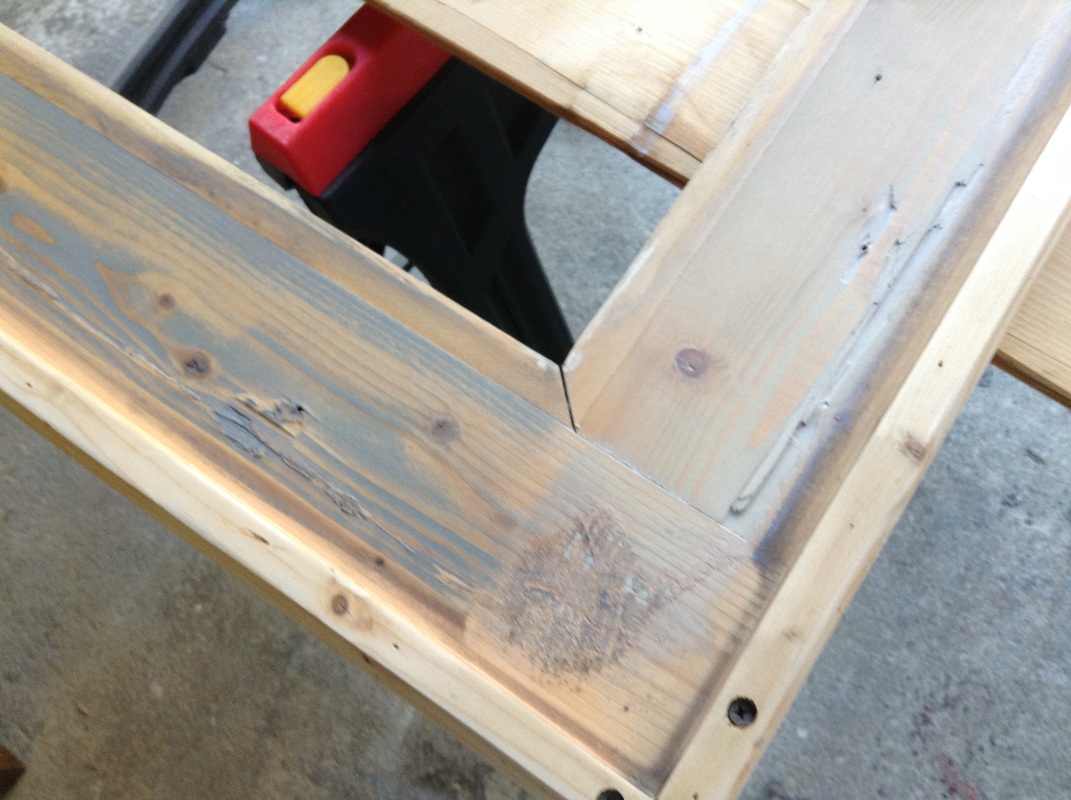
There's also gray or whitish stains that give the wood a weathered, beach washed look. I like those and plan on using them in the future but haven't had the right project yet. I did try them on the back on my monopoly table but decided they weren't the look I wanted for that table.
There's also gray or whitish stains that give the wood a weathered, beach washed look. I like those and plan on using them in the future but haven't had the right project yet. I did try them on the back on my monopoly table but decided they weren't the look I wanted for that table.
What about Wood Conditioner?
The stain companies recommend wood conditioners to be applied before you apply stain. It's supposed to stop the 'marbling' and uneven absorption of the stain. Wood is a living entity. It's not static and predictable (like plastic). It has imperfections, ridges, and areas that will soak up more stain than others. Personally, I like the imperfections. I like the deep color in some areas but not all (that marbled look). So honestly, I've never used a wood conditioner and probably never will. But I'm looking for a natural look, and I love the individual character the wood decides to show.
The pictures below show the before / after of a lighter wood stain. I don't know what kind of wood that is, but after all the hard work I put into the monopoly guys that covered that table, I didn't want a dark stain to make them disappear.
Do I have to use stain?
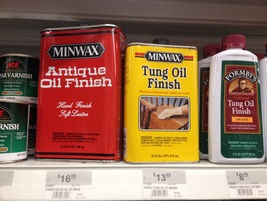
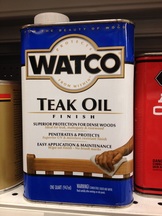
No you don't. If you love the natural color of the wood and want to keep it as close as possible to its natural color, you can use oil. There's Teak Oil, Danish Oil, Tung Oil and others I'm sure I haven't discovered yet. But they all are designed to allow the natural color of the wood show (as if the wood was wet) but not change the color too drastically.
No you don't. If you love the natural color of the wood and want to keep it as close as possible to its natural color, you can use oil. There's Teak Oil, Danish Oil, Tung Oil and others I'm sure I haven't discovered yet. But they all are designed to allow the natural color of the wood show (as if the wood was wet) but not change the color too drastically.
Anything you do to the wood will change its color somewhat, as sanded wood is not a natural state. You also shouldn't leave wood untreated as the wood will absorb the moisture in the air and will start to warp. If your project is sanded and sitting in a fairly even temperature you don't have to worry too much. But if your weather is like mine (wet and damp most of the year) you'll not want that project sitting out sanded but untreated and waiting for attention. Try not to let the wood sit for too many days before sealing it.
How to Apply Stain and Oil.
Both stain and oil are designed to be on the wood for a short period, then wiped off. The longer you leave the stain on, the deeper the color. With oil, the color doesn't deepen, but you give the wood a chance to absorb it all. So wipe it on, leave it sit for a minute or so, then wipe it off.
You can apply stain or oil with a rag, or a brush. I use a brush because I'm always low on rags...
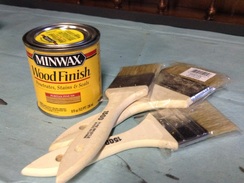
I use a cheap paint brush. The 25 cent throw-it-away when you're done kind. I use disposable gloves while I work, and a respirator. (not a dust mask - a respirator!) Stain should be applied in a well ventilated area (preferably outside).
I use a rag to wipe it off.
*** A quick word about Chemicals. ***
Please do not take the warnings of a well ventilated area lightly. They mean it. A dust mask is fine for light sanding, but you'll find me in my respirator for everything else. Sanding - stripping -staining - it's all TOXIC. Don't play games with your health. See my page on Respirator or Dust Mask for more in depth info.
Please do not take the warnings of a well ventilated area lightly. They mean it. A dust mask is fine for light sanding, but you'll find me in my respirator for everything else. Sanding - stripping -staining - it's all TOXIC. Don't play games with your health. See my page on Respirator or Dust Mask for more in depth info.
Stirred not Shaken.
I should interject here that you don't want to be shaking your cans of stain or oil. That forms air bubbles that you don't want.
Air bubbles will give you an uneven finish.
So take a stir stick (free where you buy your stain and paint) and stir gently. It's crucial with a colored stain to be sure you're moving the stuff that's settled on the bottom of the can. That's where the color pigment will have settled, and you want even color so stir the bottom gently. No sloshing!
This isn't crucial with a non-colored oil - that's why oil is sold in a small lid upright can and stain is sold in a paint type can.
I should also say that some oils do have a slight tint to them. Like oak colored Teak Oil. This will change the color of your wood to a more golden color. It's not as drastic a change in color as a stain, but it's still color. So if you want straight oil - read your can carefully before you buy.
After the Stain.
You're done for the day - let the project sit for 24 hours before doing anything else.
The wood needs time to settle down after being messed with. It's curing. So after staining or oiling - let it sit.
After you've stained or oiled wood (or wood veneer) you will have changed its texture.
It's called raising the grain. It's sort of like the wood getting goosebumps. You'll have a nice smooth surface before you stain, then you'll have a sandpapery gritty feeling after you wipe the stain off. This will be more pronounced after the wood has cured some.
To get the wood back to a smooth surface you'll need to sand lightly. I use 400 grit and my sanding block for this step. A sanding block is held in your hand - it's an inexpensive plastic item that I use all the time - and it's great for light sanding where a power tool would sand too harshly.
My sanding block takes sandpaper that has a sticky side. The sticky side attaches to the block and I'm off. You can also buy sanding blocks in different grits at the store, but many times I'm sanding chalk paint which gunks up the sandpaper quickly. I find cleaning one of the store bought sanding blocks to be a pain. I'd rather remove sandpaper from my plastic block and put a fresh piece on.
Cleaning up your area.
Oil and stains have flammable chemicals in them. It says that right on the can. :) So no smoking around an open can. The fumes are what can catch fire - not the liquid. Well the fumes are still on the rags after you're done wiping it all off so be safe and let the rags you used air out overnight. Just drape them over an outdoor bench - or the fence - or a rock - just don't bunch them up and throw them into a plastic garbage bag. They can catch fire all by themselves. Lay them flat in the open - away from possible sparks and they'll be fine.
Oil and stains have flammable chemicals in them. It says that right on the can. :) So no smoking around an open can. The fumes are what can catch fire - not the liquid. Well the fumes are still on the rags after you're done wiping it all off so be safe and let the rags you used air out overnight. Just drape them over an outdoor bench - or the fence - or a rock - just don't bunch them up and throw them into a plastic garbage bag. They can catch fire all by themselves. Lay them flat in the open - away from possible sparks and they'll be fine.
Another Coat or Maybe Not.
That all depends on you. If you like the way the piece has turned out, then go to the last step - Polyurethane. If you wish the stain had turned out a bit darker, then stain again.
I'm usually quite happy with my first coat. So the next day for me is sand and Poly.
That all depends on you. If you like the way the piece has turned out, then go to the last step - Polyurethane. If you wish the stain had turned out a bit darker, then stain again.
I'm usually quite happy with my first coat. So the next day for me is sand and Poly.
Polyurethane.
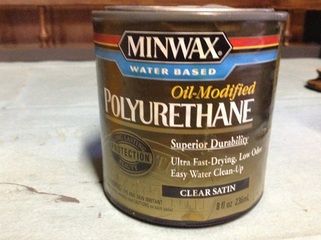
There are different kinds of poly. Some is oil based (highly toxic & hard to clean up) and some is water based (less toxic & easier to clean up). Some are a hybrid mix of Polyurethane and Acrylic.
It also comes in different sheens. Satin or high gloss. I like the satin. I'm not really a fan of high gloss anything - except maybe my Vegas Earrings -- more bling the better :)
Adding the Poly will give your project a nice coating of safety from whatever comes its way in the future. It will NOT raise the grain again, so it's a coat (or two) or Poly and you're done. No more sanding.
I like the water based Polyurethane. I still use my respirator and gloves while applying it, but I'm a safety nut.
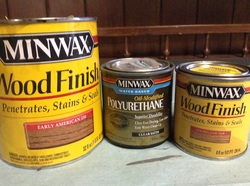
I checked on the Minwax website and it says clearly that you can use a water based Poly over an oil based stain.
This is what I've used each time and I haven't had a problem yet.
The only other advice I can give you is to be sure the temperature is above 50 degrees Fahrenheit. When the environment is too cold the stains and poly do not act correctly. They will put a whitish haze over your project that won't go away.
I know this from experience. :(
Live and learn I guess...
I hope this info helps you get started - and finished.
Good luck - and have fun!
I know this from experience. :(
Live and learn I guess...
I hope this info helps you get started - and finished.
Good luck - and have fun!
